Table of Contents
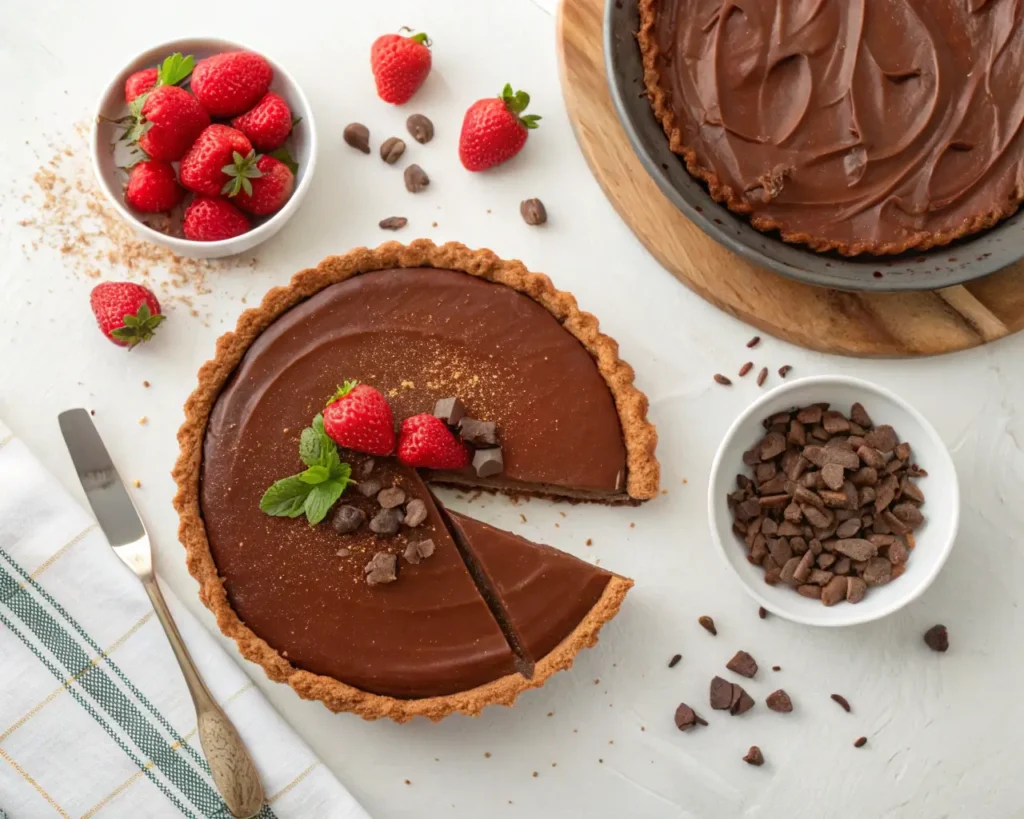
Imagine a dessert so rich, creamy, and indulgent that it satisfies every chocolate craving. Even better, it is so simple to make that you don’t even need an oven! Meet the no-bake chocolate pie, a dessert that combines a silky chocolate ganache filling, a buttery Oreo crust, and a fluffy whipped cream topping. Whether you’re hosting a gathering or simply treating yourself, this easy dessert is a guaranteed crowd-pleaser.
In this guide, we’ll walk you through every step to create the perfect no-bake chocolate pie. Along the way, you’ll learn essential tips, exciting variations, and solutions to common problems, ensuring your dessert is flawless every time.
Why Make a No-Bake Chocolate Pie?
Life is busy, but dessert doesn’t have to be complicated. A no-bake chocolate pie is the ideal solution when you want something decadent without spending hours in the kitchen. In fact, it’s perfect for hot summer days when you want to keep the oven off or for holiday gatherings when every minute counts. As a result, this dessert is as practical as it is delicious.
Moreover, one of the secrets to this recipe is its simplicity. With just a few basic ingredients, you can create a dessert that feels luxurious. To achieve the best results, you should always choose high-quality chocolate. Using premium brands like Lindt or Ghirardelli enhances the ganache’s flavor and texture. If you need help deciding which chocolate to buy, check out this guide to choosing quality chocolate.
Furthermore, this pie offers endless customization options. From the crust to the toppings, you can tailor it to suit your taste or dietary needs. Consequently, it’s a versatile dessert for nearly any occasion.

Ingredients for the Best No-Bake Chocolate Pie
Creating the perfect no-bake chocolate pie starts with assembling the right ingredients. Since each one plays a crucial role in delivering the pie’s signature taste and texture, it’s important to prepare everything in advance.
The Crust:
- 24 Oreo cookies, finely crushed.
- ¼ cup melted butter.
The Filling:
- 8 ounces semi-sweet chocolate, chopped into small pieces.
- 2/3 cup heavy whipping cream (for melting the chocolate).
- ¾ teaspoon vanilla extract.
- 1 teaspoon instant espresso powder (optional but enhances chocolate flavor).
- 1 ½ cups heavy whipping cream, whipped to stiff peaks.
- 2 tablespoons granulated sugar.
The Topping:
- 1 cup heavy whipping cream.
- 1 tablespoon granulated sugar.
- ½ teaspoon vanilla extract.
- Optional garnishes: chocolate shavings, crushed nuts, or berries.
Step-by-Step Instructions for the Best No-Bake Chocolate Pie
Creating a no-bake chocolate pie is a straightforward process. However, following the steps in order ensures the best results. Let’s break it down into manageable parts.
1. Making the Perfect Oreo Crust for Your Chocolate Pie
The crust is the foundation of your pie, providing a crunchy contrast to the creamy filling. To start, ensure you have the Oreos crushed finely.
- Crush the Oreos:
Use a food processor or place the cookies in a zip-top bag and crush them with a rolling pin until you achieve fine crumbs. - Combine with Butter:
Next, mix the Oreo crumbs with melted butter until they resemble wet sand. - Press into the Pan:
Firmly press the mixture into a 9-inch pie pan, ensuring an even layer across the bottom and slightly up the sides. - Chill:
Place the crust in the refrigerator to set while you prepare the filling.
Pro Tip: If you prefer a lighter flavor, you can substitute graham crackers for Oreos in equal amounts.
2. Preparing the Chocolate Ganache Filling
The filling is the star of the show, offering a velvety texture and rich chocolate flavor. Therefore, take your time with this step to ensure perfection.
- Melt the Chocolate:
First, chop the chocolate into small pieces and place it in a heatproof bowl. Then, heat 2/3 cup of cream until steaming (not boiling) and pour it over the chocolate. Let it sit for 2–3 minutes before whisking into a smooth ganache. - Enhance the Flavor:
Stir in vanilla extract and instant espresso powder. The espresso enhances the chocolate’s depth without overpowering it. - Cool Completely:
Allow the ganache to cool to room temperature before combining it with the whipped cream.

3. Whipping the Cream for the Filling
To achieve the perfect texture, whipped cream must be prepared correctly. This step is especially important for the pie’s light and airy texture.
- Chill the Bowl and Whisk:
Cold tools help the cream whip faster and maintain stability. - Whip to Stiff Peaks:
In a large mixing bowl, whip 1 ½ cups of heavy whipping cream with 2 tablespoons of sugar until stiff peaks form. However, be careful not to overwhip, as this can lead to a grainy texture. - Combine with Ganache:
Once the ganache has cooled, gently fold it into the whipped cream. Use a spatula to combine the two without deflating the cream.
Pro Tip: Avoid overmixing to maintain the light, airy texture.
4. Assembling the Pie
With the crust and filling ready, it’s time to bring the pie together. Follow these simple steps to complete your dessert:
- Fill the Crust:
Pour the chocolate filling into the prepared crust, smoothing the top with a spatula. - Chill:
Afterward, cover the pie with plastic wrap and refrigerate for at least 6 hours, or overnight, to allow the filling to set.
5. Adding the Whipped Cream Topping
The topping adds a final layer of creaminess and elevates the pie’s presentation. Moreover, it provides a contrast to the rich chocolate filling.
- Whip the Cream:
In a clean bowl, whip 1 cup of heavy whipping cream with sugar and vanilla until soft peaks form. - Spread or Pipe:
Spread the whipped cream evenly over the chilled pie or use a piping bag for decorative swirls. - Garnish:
Finally, add chocolate shavings, crushed nuts, or fresh berries for a touch of elegance.
Tips for a Perfect No-Bake Chocolate Pie
Even a simple recipe can benefit from expert advice. Therefore, consider these tips to ensure your no-bake chocolate pie turns out perfectly every time:
- Choose high-quality chocolate: Avoid chocolate chips, as they contain stabilizers that can affect the texture of the ganache.
- Customize your crust: Graham crackers or even pretzels can be used for a unique twist.
- Chill thoroughly: Allow ample time for the pie to set. Rushing this step can result in a runny filling.
For additional inspiration on dessert customization, explore the history of chocolate desserts and how chocolate pairs with various flavors.
FAQs About No-Bake Chocolate Pie
How long should the pie chill?
The pie needs at least 6 hours in the refrigerator to set properly. For the best results, chill it overnight.
Can I make this pie ahead of time?
Yes! This pie can be made up to 2 days in advance. Simply add the whipped topping just before serving.
What are some non-dairy alternatives?
For a dairy-free version, use coconut cream in place of heavy cream and vegan chocolate for the filling.
What if my filling doesn’t set?
Ensure that the ganache is cool before mixing it with whipped cream, and always use full-fat heavy cream for stability.
Serving and Storing Tips
- Serve chilled: This pie tastes best straight from the refrigerator. Pair it with a glass of milk or a cup of coffee for the ultimate experience.
- Store leftovers properly: Cover the pie loosely with plastic wrap and refrigerate for up to 4 days.
- Freeze for later: If you’d like to save the pie, freeze it without the whipped topping. Wrap it tightly in plastic wrap and foil for up to 2 months. Thaw overnight in the refrigerator before serving.
Variations to Try
This recipe is versatile and can be adapted to suit any taste:
- Add peanut butter: Swirl a layer of peanut butter into the ganache before chilling.
- Make it minty: Add a few drops of peppermint extract to the filling for a refreshing twist.
- Try a nutty crust: Use crushed pecans or almonds mixed with butter for the base.
Why This Recipe Stands Out
No-bake chocolate pie combines convenience with indulgence. It’s a dessert that impresses with its appearance and flavor, yet remains incredibly simple to prepare. By following this guide, you’ll have a show-stopping dessert that’s perfect for any occasion.
Ready to whip up this chocolate masterpiece? Start gathering your ingredients and enjoy the process of creating a dessert that’s as fun to make as it is to eat!


2 thoughts on “No-Bake Chocolate Pie: A Decadent Dessert Without the Oven”