
Table of Contents
Cheesecake is one of those timeless desserts that never fails to impress. From classic New York-style cheesecakes to creative variations, this dessert is universally adored for its rich, creamy texture and sweet-tart flavor. While the traditional cheesecake is baked in a springform pan, cheesecake bars offer the same indulgent taste with a convenient, portable twist. Whether you’re hosting a party, looking for a simple dessert, or craving something sweet, these cheesecake bars are the perfect treat to satisfy any occasion. They are easy to prepare, require minimal ingredients, and can be customized to fit your flavor preferences.
In this recipe, we take you step by step through the process of making these mouthwatering cheesecake bars, ensuring each bite is as delicious as the last. With a buttery graham cracker crust, a smooth and creamy cheesecake filling, and a few optional toppings, these bars are guaranteed to become a favorite in your dessert repertoire.
History of Cheesecake Bars
Cheesecake has ancient origins, dating back to the Greek islands around 2,000 years ago. Early versions of cheesecake were quite different from the ones we enjoy today, but the basic concept of combining cheese, eggs, and sweeteners remains the same. The modern cheesecake we know and love, with a creamy texture, originated in Europe in the 18th century, especially in New York City. Over the years, bakers have adapted the classic cheesecake recipe into numerous variations, and one of the most popular adaptations is the cheesecake bar.
The cheesecake bar brings the rich, velvety indulgence of cheesecake into a compact, handheld form. The concept of cheesecake bars became increasingly popular in the mid-20th century when bakers and home cooks sought quicker, more accessible alternatives to the traditional cheesecake. Cheesecake bars are often baked in a rectangular pan, allowing them to be sliced into neat, bite-sized pieces. This form of cheesecake is perfect for serving at parties, picnics, and other gatherings, as it’s easy to transport and serve.
Why You’ll Love These Cheesecake Bars
There are many reasons to fall in love with these cheesecake bars. Not only do they deliver all the creamy, luscious flavor of a traditional cheesecake, but they are also incredibly simple to make. Here are a few reasons why these cheesecake bars will quickly become your go-to dessert:
- Perfect Portion Sizes: Each bar is pre-portioned, making them ideal for parties, picnics, or potlucks. No need to slice a large, messy cheesecake—just cut them into neat bars and serve.
- Rich and Creamy: The creamy filling is made with cream cheese, sugar, and eggs, resulting in a smooth and velvety texture that melts in your mouth.
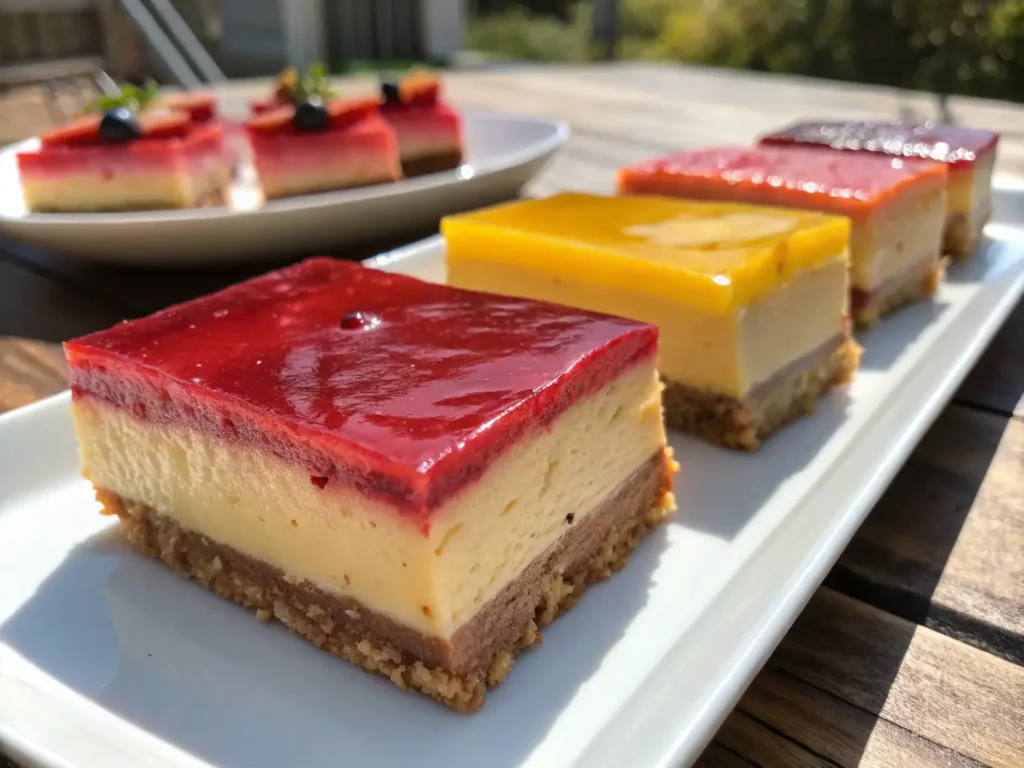
- Buttery Crust: The combination of buttery graham cracker crumbs and a touch of sugar creates a crisp and flavorful base that complements the rich filling perfectly.
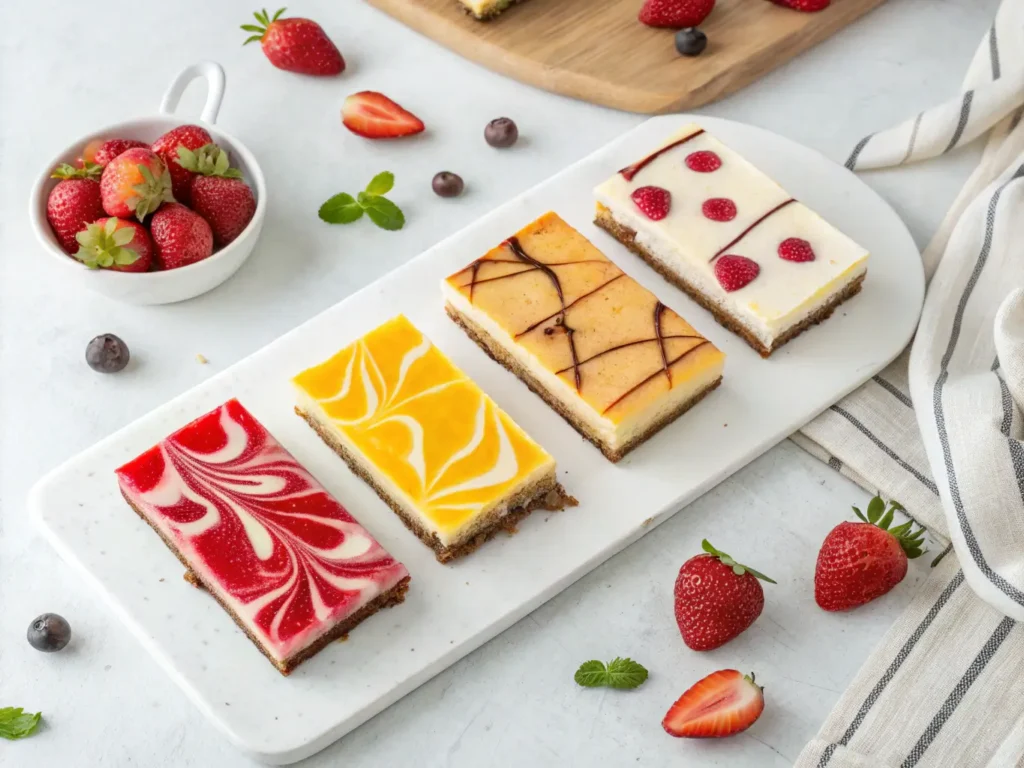
- Customizable: You can get creative with these bars! Add fruit toppings, drizzle them with caramel or chocolate sauce, or experiment with flavored extracts to create your own unique twist.
Let’s dive into the recipe for these incredible cheesecake bars!
Ingredients for Cheesecake Bars
For the Crust:
- 1 ½ cups graham cracker crumbs (about 12 graham crackers)
- ¼ cup granulated sugar
- ½ cup unsalted butter, melted
- ¼ teaspoon ground cinnamon (optional, for added flavor)
For the Cheesecake Filling:
- 3 packages (8 ounces each) cream cheese, softened
- 1 cup granulated sugar
- 4 large eggs, at room temperature
- 1 teaspoon vanilla extract
- 2 teaspoons lemon juice (freshly squeezed)
- ¼ cup sour cream, at room temperature
- 2 tablespoons all-purpose flour
- Pinch of salt
Optional Toppings:
- Fresh berries (such as raspberries, strawberries, or blueberries)
- Caramel sauce
- Chocolate ganache or melted chocolate
- Whipped cream
Step-by-Step Instructions to Make Cheesecake Bars
1. Preparing the Crust
The crust for these cheesecake bars is quick and easy to make, yet it adds a significant amount of flavor and texture to the final product. Start by preparing a 9×13-inch baking dish. You can line it with parchment paper for easy removal later or grease it lightly with butter or nonstick spray.
- Step 1: In a medium bowl, combine the graham cracker crumbs and sugar. Stir until evenly distributed. If you prefer a hint of spice, add the ground cinnamon to the mixture for a touch of warmth.
- Step 2: Pour in the melted butter and mix until all the crumbs are coated with the butter. The texture should resemble wet sand, with the mixture sticking together when pressed.
- Step 3: Transfer the mixture into the prepared baking dish. Use the back of a spoon or your hands to press the crumbs evenly into the bottom of the dish. Ensure the crust is compact and covers the entire base.
- Step 4: Bake the crust in the preheated oven at 325°F (163°C) for about 10 minutes or until it is golden brown and fragrant. This step helps set the crust and gives it a firm, crispy texture.
- Step 5: Once baked, remove the crust from the oven and allow it to cool slightly while you prepare the cheesecake filling.
2. Preparing the Cheesecake Filling
The cheesecake filling is the star of the show, and with the right ingredients and proper mixing, you can achieve a smooth, creamy texture that’s both rich and indulgent.
- Step 1: In a large mixing bowl, beat the softened cream cheese with an electric mixer or stand mixer on medium speed. Mix until the cream cheese is smooth and free of lumps. This usually takes about 2-3 minutes. Make sure the cream cheese is softened to room temperature to avoid any clumps.
- Step 2: Add the sugar to the cream cheese and continue to beat until fully incorporated, about 1-2 minutes. The mixture should be smooth and creamy.
- Step 3: Crack the eggs into a separate bowl and add them one at a time to the cream cheese mixture. Beat well after each addition to ensure they are fully incorporated. Don’t overmix, as this can cause the cheesecake to crack while baking.
- Step 4: Add the vanilla extract, lemon juice, sour cream, flour, and salt. Beat until all ingredients are well combined and the filling is smooth. The flour will help stabilize the filling and prevent it from sinking or cracking during baking.
- Step 5: Once the cheesecake filling is ready, carefully pour it over the cooled graham cracker crust, spreading it evenly with a spatula.
3. Baking the Cheesecake Bars
- Step 1: Place the pan in the preheated oven at 325°F (163°C). Bake for 45-55 minutes, or until the edges of the cheesecake are set and lightly browned, but the center is still slightly jiggly. Be sure to keep an eye on the bars to prevent them from overbaking, as this could result in a dry texture.
- Step 2: After baking, turn off the oven and leave the cheesecake bars in the oven for 1 hour with the door slightly ajar. This allows the bars to set gradually and reduces the risk of cracking.
- Step 3: After the hour, remove the cheesecake bars from the oven and let them cool to room temperature. Once cooled, cover the pan with plastic wrap and refrigerate for at least 4 hours or overnight for the best results. The chilling process allows the cheesecake bars to firm up and makes them easier to slice.
4. Serving the Cheesecake Bars
After the cheesecake bars have chilled, they are ready to be served. Carefully lift the cheesecake out of the pan using the parchment paper or cut directly in the pan if you haven’t lined it. Use a sharp knife to cut the bars into squares or rectangles, depending on your preference.
- Optional Toppings: Top each bar with fresh berries, a drizzle of caramel sauce, chocolate ganache, or a dollop of whipped cream for added flavor and presentation.
Tips and Tricks for Perfect Cheesecake Bars
- Room Temperature Ingredients: Make sure the cream cheese, eggs, and sour cream are at room temperature before mixing. This ensures a smooth filling without lumps.
- Don’t Overmix: When adding eggs, be sure to mix just until incorporated. Overmixing can incorporate air into the batter, leading to cracks in the cheesecake as it bakes.
- Chill for Best Results: Allow the cheesecake bars to chill for several hours or overnight. This helps them set properly and makes them easier to slice cleanly.
- Flavor Variations: Feel free to get creative with your cheesecake bars. Add citrus zest, a swirl of raspberry or strawberry jam, or a chocolate crust for a twist on the classic.
- Serving Suggestions: These cheesecake bars pair wonderfully with a hot cup of coffee or a chilled glass of dessert wine.
Conclusion
Cheesecake bars are an elegant yet simple dessert that combines the rich flavor of traditional cheesecake with the convenience of bite-sized portions. With a buttery graham cracker crust, a creamy filling, and endless possibilities for customization, these cheesecake bars are perfect for any occasion. Whether you’re baking for a special event, a casual get-together, or simply indulging in a sweet treat, these cheesecake bars are sure to impress. Try this recipe today, and discover why cheesecake bars are the ultimate dessert!